


How to install SMC Ceiling?
Jun 10, 2025
Leave a message
Hey there! As a supplier of SMC Ceiling, I've got a bunch of knowledge to share about installing these amazing ceilings. SMC, or Sheet Molding Compound, is a super - durable and versatile material, and SMC Ceiling is a great choice for both residential and commercial spaces. In this blog, I'll walk you through the step - by - step process of installing SMC Ceiling.
Why Choose SMC Ceiling?
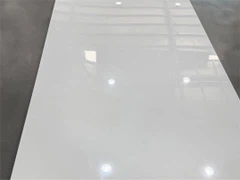
Before we dive into the installation process, let me quickly tell you why SMC Ceiling is such a good option. First off, it's highly durable. SMC has excellent mechanical properties, which means it can withstand a fair amount of wear and tear. Whether it's in a high - traffic area or a place prone to minor impacts, SMC Ceiling will hold up well.
Secondly, it's easy to clean. You don't have to worry about stubborn stains or dirt build - up. A simple wipe with a damp cloth is usually enough to keep it looking fresh.
And if you're concerned about safety, SMC Ceiling often comes with fire - resistant properties. Check out our Fireproof Ceiling for more details on this.
Tools and Materials You'll Need
- Measuring tape: To measure the area where you'll install the ceiling.
- Saw: A handsaw or a power saw, depending on your preference and the complexity of the cuts.
- Screwdriver: Both a flat - head and a Phillips - head screwdriver will come in handy.
- Level: To ensure that the ceiling is perfectly straight.
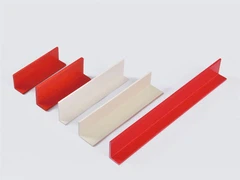
- Wall brackets: These are used to support the ceiling panels.
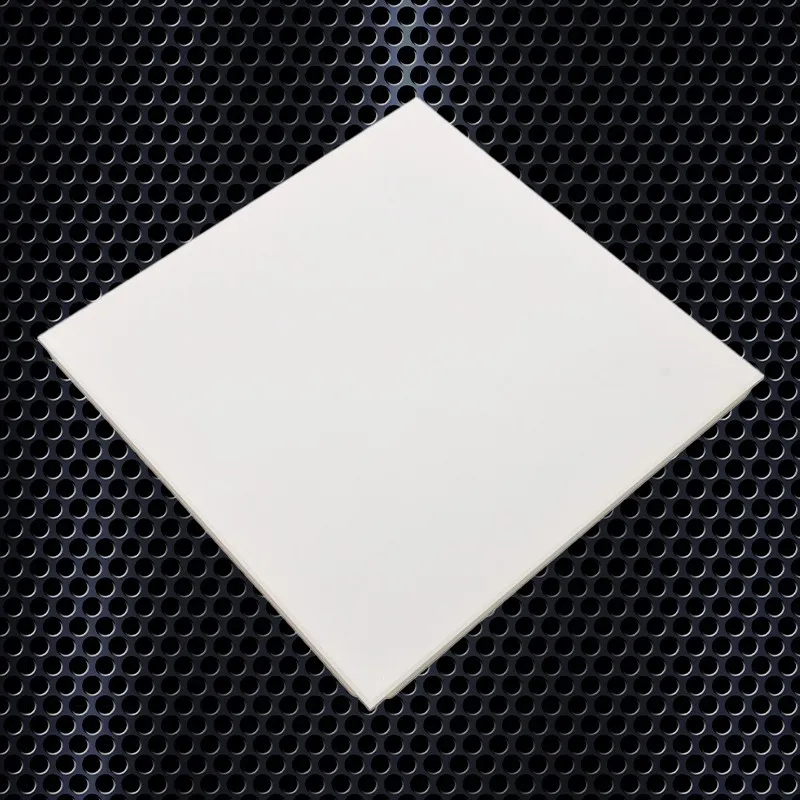
- SMC Ceiling panels: You can find a wide range of styles and sizes on our SMC Ceiling page.
- Screws: Make sure they're the right size for the brackets and the ceiling panels.
Step 1: Measure the Area
The first thing you need to do is measure the area where you want to install the SMC Ceiling. Use a measuring tape to get the length and width of the space. It's important to be as accurate as possible because any measurement errors can lead to problems later on.
If the area is irregularly shaped, break it down into smaller, more manageable rectangles or squares and measure each part separately. Write down your measurements and double - check them to avoid any mistakes.
Step 2: Prepare the Wall
Once you have your measurements, it's time to prepare the wall. Clean the wall surface to remove any dust, dirt, or debris. This will ensure that the wall brackets adhere properly.
Next, mark the positions where you'll install the wall brackets. Use a level to make sure the marks are straight. The distance between the brackets will depend on the size and weight of the SMC Ceiling panels. Generally, you want to space them evenly to provide adequate support.
Step 3: Install the Wall Brackets
Now it's time to install the wall brackets. Use a screwdriver to attach the brackets to the wall at the marked positions. Make sure they're firmly in place. You can use a level again to double - check that the brackets are straight.
If the wall is made of a material like concrete or brick, you might need to use special masonry screws and a drill to install the brackets. Just follow the manufacturer's instructions for the best results.
Step 4: Cut the SMC Ceiling Panels
Before you can install the ceiling panels, you might need to cut them to fit the space. Use a saw to make the necessary cuts. If you're using a power saw, be extra careful and follow all the safety precautions.
Measure the length and width of the area again and transfer the measurements to the SMC Ceiling panels. Mark the cutting lines clearly and then make the cuts. You can use a sandpaper to smooth out any rough edges after cutting.
Step 5: Install the SMC Ceiling Panels
Once the panels are cut to size, it's time to install them. Start by placing the first panel on the wall brackets. Make sure it fits snugly and is level. Use a screwdriver to attach the panel to the brackets.
Continue installing the remaining panels one by one, making sure to align them properly. You might need to make some minor adjustments as you go to ensure a seamless fit. If there are any gaps between the panels, you can use a suitable filler to fill them in.
Step 6: Finishing Touches
After all the panels are installed, take a step back and look at your work. Check for any loose brackets or panels that might need tightening. Also, make sure the ceiling looks smooth and even.
If you want, you can add some decorative elements to the ceiling, such as molding or trim. This can give the ceiling a more finished and professional look.
Tips and Tricks
- If you're installing the SMC Ceiling in a bathroom or a kitchen, make sure to choose panels that are moisture - resistant. This will prevent mold and mildew growth.
- When cutting the panels, it's a good idea to wear safety goggles and a dust mask to protect yourself from any debris.
- If you're not confident in your DIY skills, you can always hire a professional to install the SMC Ceiling for you.
Conclusion
Installing an SMC Ceiling might seem like a daunting task at first, but if you follow these steps and use the right tools and materials, it can be a rewarding DIY project. SMC Ceiling offers many benefits, including durability, easy cleaning, and fire - resistance.
If you're interested in purchasing SMC Ceiling panels or have any questions about the installation process, don't hesitate to reach out. We're here to help you make the best choice for your space. Check out our SMC Ceiling page to explore our product range and get in touch with us for a purchase and negotiation.

References
- General knowledge from years of experience in the SMC Ceiling supply industry.
- Manufacturer's guidelines for SMC Ceiling installation.
Send Inquiry