


How to install GRP Ceiling panels?
Aug 04, 2025
Leave a message
How to install GRP Ceiling panels?
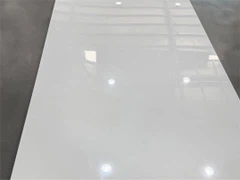
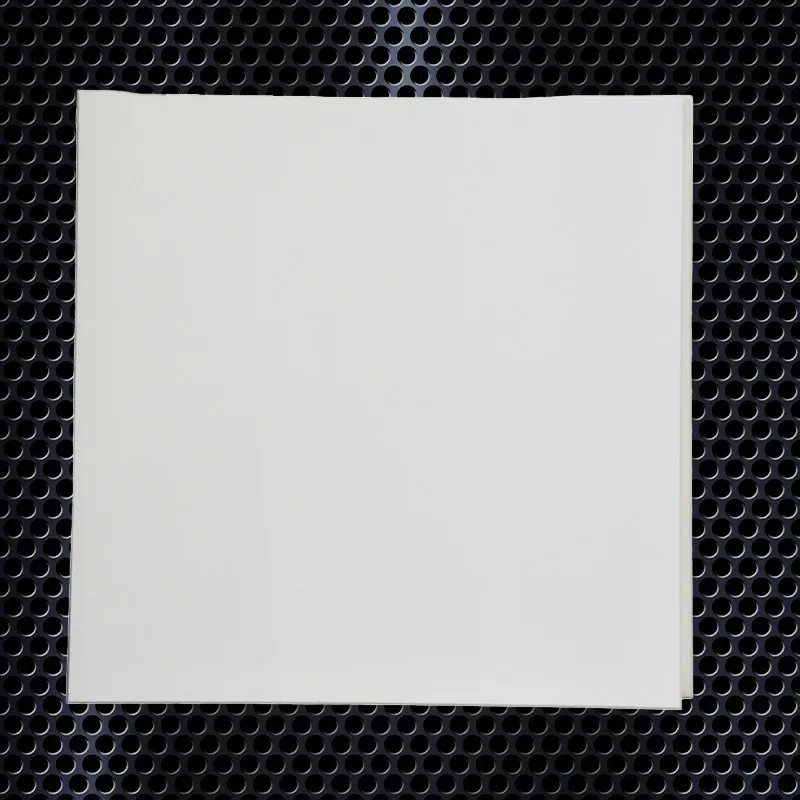
As a GRP Ceiling supplier, I've had the privilege of witnessing the transformative power of these ceiling panels in various spaces. GRP (Glass Reinforced Plastic) ceiling panels are known for their durability, aesthetic appeal, and versatility. In this blog post, I'll guide you through the process of installing GRP ceiling panels, ensuring that you achieve a professional and long - lasting finish.
1. Preparation
Before you start the installation process, it's crucial to make thorough preparations. First, measure the area where the GRP ceiling panels will be installed. Use a tape measure to get accurate length and width dimensions. This will help you determine the number of panels you need to purchase. Remember to account for any cutouts for lighting fixtures, ventilation ducts, or other ceiling features.
Next, gather all the necessary tools and materials. You'll need a ladder for accessing the ceiling, a saw for cutting the panels if required, a drill, screws, a level to ensure the panels are straight, and a measuring tape. Also, make sure you have safety equipment such as safety glasses and gloves.
Inspect the ceiling surface. It should be clean, dry, and free of any debris, dust, or grease. If there are any uneven areas or bumps, use sandpaper or a filler to smooth them out. A flat and even surface is essential for a proper installation of GRP ceiling panels.
2. Planning the Layout
Once you have all the measurements and the ceiling surface is ready, it's time to plan the layout of the GRP ceiling panels. Start by marking the center point of the ceiling. You can do this by measuring the length and width of the ceiling and finding the mid - points. Mark these points with a pencil.
From the center point, draw a reference line using a chalk line or a straight edge. This line will serve as a guide for the first row of panels. It's important to ensure that the reference line is perfectly straight and level. You can use a spirit level to check its accuracy.
When planning the layout, consider the pattern of the panels. GRP ceiling panels come in various patterns and designs, and you can choose a layout that suits your aesthetic preferences. For example, you can install the panels in a simple straight pattern or create a more intricate diagonal pattern.
3. Cutting the Panels
In many cases, you'll need to cut the GRP ceiling panels to fit the specific dimensions of your ceiling. Use a fine - toothed saw to make clean and precise cuts. Measure the length and width of the area where the panel needs to fit and mark the panel accordingly with a pencil.
When cutting the panels, make sure to wear safety glasses to protect your eyes from any flying debris. Hold the panel firmly in place while cutting to ensure a straight and accurate cut. If you're cutting a large number of panels, it might be a good idea to use a jigsaw or a circular saw for faster and more efficient cutting.
For cutouts around lighting fixtures or ventilation ducts, use a hole saw or a utility knife. Mark the center of the cutout on the panel and cut out the shape carefully. You may need to make some adjustments to ensure a perfect fit.
4. Installing the First Row
Begin the installation process by installing the first row of GRP ceiling panels. Align the edge of the first panel with the reference line you drew earlier. Use a drill to make holes in the panel and the ceiling surface at regular intervals. Then, insert screws through the holes to secure the panel to the ceiling.
Make sure the panel is firmly attached to the ceiling and is level. Use a spirit level to check the levelness of the panel. If the panel is not level, adjust it by loosening the screws slightly and re - positioning the panel. Once the panel is level, tighten the screws securely.
Continue installing the rest of the panels in the first row, making sure to align them properly with each other. Leave a small gap (about 1/8 inch) between each panel to allow for expansion and contraction due to temperature changes. You can use spacers to maintain the consistent gap between the panels.
5. Installing Subsequent Rows
After the first row is installed, start installing the subsequent rows of GRP ceiling panels. Align the edge of the new row with the previous row. Use the same method of drilling holes and inserting screws to secure the panels to the ceiling.
As you install the panels, check the alignment and levelness regularly. Make sure the pattern of the panels is consistent throughout the installation. If you encounter any issues with the fit of the panels, make the necessary adjustments by cutting or trimming the panels as needed.
When installing the panels around corners, use a miter saw to cut the panels at a 45 - degree angle. This will create a clean and seamless corner joint. Make sure the cut edges are smooth and fit together tightly.
6. Finishing Touches
Once all the GRP ceiling panels are installed, it's time to add the finishing touches. Check for any loose screws and tighten them if necessary. Inspect the seams between the panels. If there are any small gaps or uneven areas, use a silicone caulk that matches the color of the panels to fill them in.

Clean the surface of the GRP ceiling panels with a mild detergent and a soft cloth. This will remove any fingerprints, dust, or debris that may have accumulated during the installation process.
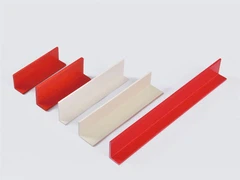
For a more professional look, you can install trim pieces around the edges of the ceiling. Trim pieces can hide any rough edges and give the ceiling a finished appearance. There are various types of trim pieces available, such as PVC trim or metal trim. Choose the one that complements the style of your GRP ceiling panels.
7. Benefits of GRP Ceiling Panels
GRP ceiling panels offer numerous benefits that make them a popular choice for both residential and commercial spaces. They are highly durable and resistant to moisture, making them ideal for areas such as bathrooms, kitchens, and basements. They also have excellent fire - resistant properties. You can learn more about Fireproof Ceiling on our website.
In addition to their practical benefits, GRP ceiling panels are also aesthetically pleasing. They come in a wide range of colors, patterns, and textures, allowing you to create a unique and stylish look for your space. Some GRP ceiling panels also have sound - absorbing properties, which can help reduce noise levels in a room. You can explore our Soundproof Ceiling Panel options for more information.
8. Contact Us for Purchase and Consultation
If you're interested in purchasing GRP ceiling panels or have any questions about the installation process, we're here to help. As a leading GRP Ceiling supplier, we offer a wide range of high - quality GRP ceiling panels at competitive prices. You can visit our website GRP Ceiling to view our product range and get more detailed information.
Our team of experts is available to provide you with professional advice and guidance. Whether you need help with product selection, installation tips, or have any other concerns, feel free to reach out to us. We're committed to ensuring that you have a successful installation of GRP ceiling panels in your space.
References
- "Ceiling Installation Guide" - General construction handbook
- Manufacturer's installation instructions for GRP ceiling panels
Send Inquiry