


How to install a fireproof ceiling in a bathroom?
Nov 06, 2025
Leave a message
Installing a fireproof ceiling in a bathroom is a crucial step towards enhancing safety and durability. As a trusted Fireproof Ceiling supplier, I'm here to guide you through the process, ensuring you achieve a professional and secure installation.
Understanding the Importance of Fireproof Ceilings in Bathrooms
Bathrooms are unique spaces in a building. They are often exposed to high levels of moisture, steam, and heat from hot water usage. These conditions can pose risks not only to the structural integrity of the ceiling but also increase the potential for fire hazards. A fireproof ceiling acts as a barrier, preventing the spread of fire and providing valuable time for evacuation in case of an emergency. Additionally, it can withstand the moisture and humidity typical of bathrooms, reducing the likelihood of mold growth and water damage.
Selecting the Right Fireproof Ceiling Material
When it comes to choosing a fireproof ceiling for your bathroom, there are several options available. Each material has its own set of characteristics, advantages, and limitations. Here are some common choices:
Mineral Fiber Ceilings
Mineral fiber ceilings are made from a combination of minerals and fibers. They are known for their excellent fire resistance, sound absorption, and acoustic properties. These ceilings are also relatively easy to install and can be painted to match the bathroom's decor. However, they may not be as resistant to moisture as some other materials, so proper ventilation is essential.
Gypsum Board Ceilings
Gypsum board, also known as drywall, is a popular choice for fireproof ceilings. It is made from gypsum plaster sandwiched between two layers of paper. Gypsum board is lightweight, easy to cut and install, and provides good fire protection. It can also be finished with a variety of textures and paints. However, like mineral fiber ceilings, it is susceptible to moisture damage if not properly protected.
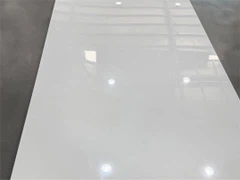
Metal Ceilings
Metal ceilings, such as aluminum or steel, offer excellent fire resistance and durability. They are resistant to moisture, mold, and mildew, making them ideal for bathrooms. Metal ceilings come in a variety of styles and finishes, allowing you to create a modern and stylish look. However, they can be more expensive than other materials and may require professional installation.
As a Fireproof Ceiling supplier, I recommend Fireproof Ceiling. Our fireproof ceilings are made from high-quality materials that offer superior fire resistance, moisture protection, and durability. They are also available in a range of styles and colors to suit your bathroom's design.
Preparing for Installation
Before you begin installing the fireproof ceiling, it's important to prepare the workspace and gather the necessary tools and materials. Here's what you'll need:
Tools
- Measuring tape
- Utility knife
- Screwdriver
- Drill
- Saw (if cutting the ceiling panels)
- Level
- Caulk gun
- Safety glasses
- Dust mask
Materials
- Fireproof ceiling panels
- Ceiling grid system (if required)
- Screws or nails
- Adhesive
- Caulk
- Joint compound
- Sandpaper
Workspace Preparation
- Remove any existing ceiling materials, such as tiles or drywall.
- Clean the ceiling surface to remove any dirt, dust, or debris.
- Inspect the ceiling joists for any damage or signs of rot. Repair or replace any damaged joists as needed.
- Install a vapor barrier over the ceiling joists to prevent moisture from seeping into the ceiling.
- Mark the location of the ceiling grid system or the layout of the ceiling panels on the ceiling surface.
Installing the Fireproof Ceiling
The installation process will vary depending on the type of fireproof ceiling you choose and the specific requirements of your bathroom. Here's a general guide to installing a fireproof ceiling:
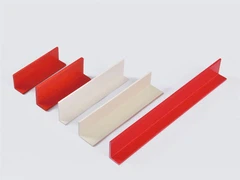
Installing a Ceiling Grid System
If you're using a ceiling grid system, start by installing the main runners along the ceiling joists. Use a level to ensure the runners are straight and level. Secure the runners to the joists using screws or nails.
Next, install the cross tees between the main runners. The cross tees should be spaced evenly to support the ceiling panels. Secure the cross tees to the main runners using clips or brackets.
Installing the Ceiling Panels
Once the ceiling grid system is installed, it's time to install the fireproof ceiling panels. Start by measuring and cutting the panels to fit the space between the cross tees. Use a utility knife or saw to cut the panels.
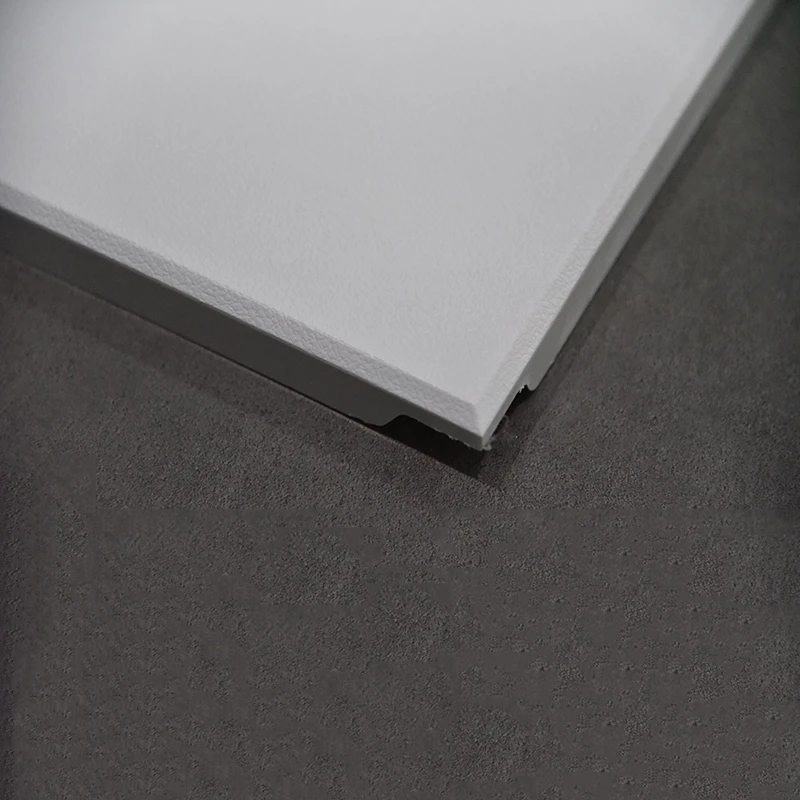
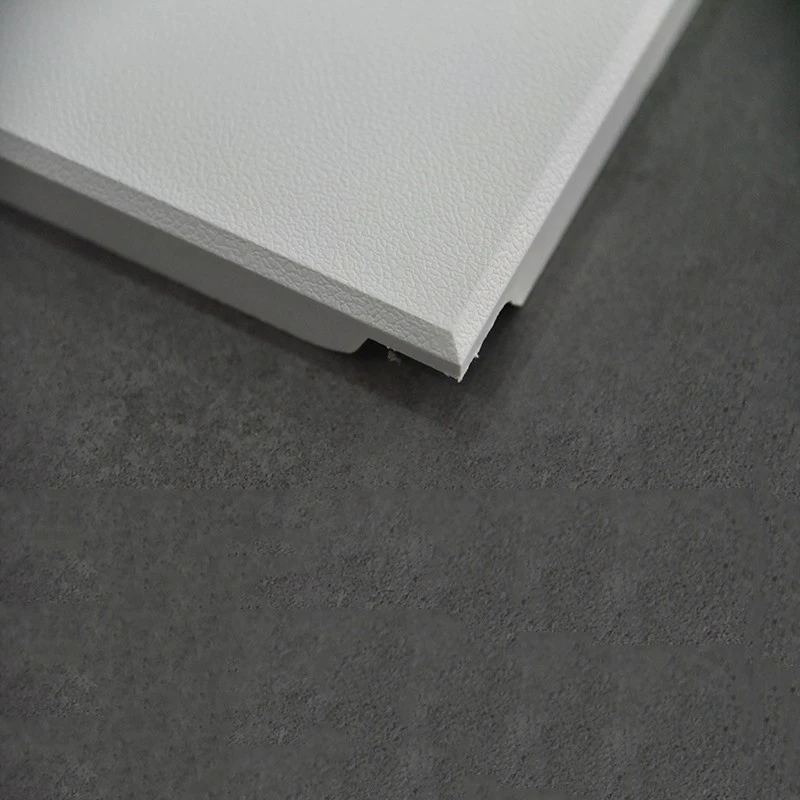
Place the first panel into the grid system, aligning it with the cross tees. Secure the panel to the grid system using screws or nails. Continue installing the remaining panels, working your way across the ceiling.
Sealing the Joints
After all the ceiling panels are installed, seal the joints between the panels using caulk or joint compound. This will prevent air and moisture from seeping through the joints and improve the fire resistance of the ceiling.
Use a caulk gun to apply a bead of caulk along the joints. Smooth the caulk with a putty knife or your finger. If using joint compound, apply a thin layer of compound over the joints and use a drywall knife to smooth it out. Let the caulk or joint compound dry completely before proceeding.
Finishing the Ceiling
Once the joints are sealed, you can finish the ceiling by sanding the surface to smooth out any rough edges or bumps. Use fine-grit sandpaper to sand the ceiling gently.
After sanding, you can paint the ceiling to match the bathroom's decor. Choose a paint that is suitable for use in a bathroom and provides good moisture resistance. Apply the paint using a roller or brush, following the manufacturer's instructions.
Maintaining Your Fireproof Ceiling
To ensure the long-term performance and safety of your fireproof ceiling, it's important to maintain it properly. Here are some tips for maintaining your fireproof ceiling:
- Regularly inspect the ceiling for any signs of damage, such as cracks, holes, or water stains. Repair any damage as soon as possible to prevent further problems.
- Keep the ceiling clean by wiping it down with a damp cloth or sponge. Avoid using abrasive cleaners or scrubbers, as they can damage the ceiling surface.
- Ensure proper ventilation in the bathroom to prevent moisture buildup. Use an exhaust fan or open a window when taking a shower or bath.
- If you notice any signs of mold or mildew on the ceiling, clean it immediately using a mold and mildew cleaner. Follow the manufacturer's instructions carefully.
Contact Us for Your Fireproof Ceiling Needs
If you're interested in purchasing a fireproof ceiling for your bathroom, I encourage you to [contact us](insert contact information). As a leading Fireproof Ceiling supplier, we offer a wide range of high-quality fireproof ceilings to suit your needs and budget. Our team of experts can help you choose the right ceiling material, provide installation guidance, and answer any questions you may have.
Investing in a fireproof ceiling is a smart decision that can enhance the safety and durability of your bathroom. Don't wait until it's too late. Contact us today to learn more about our fireproof ceiling products and start protecting your home or business.
References
- "Fireproofing Your Home: A Guide to Fire-Resistant Building Materials." National Fire Protection Association.
- "Bathroom Ceiling Installation: Tips and Tricks." This Old House.
- "Choosing the Right Ceiling Material for Your Bathroom." HomeAdvisor.
Send Inquiry