


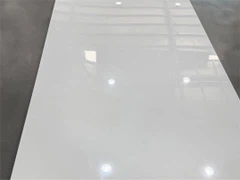

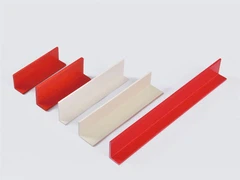

How to install a fireproof ceiling in an old building?
Oct 30, 2025
Leave a message
Hey there! I'm from a Fireproof Ceiling supplier, and I'm here to walk you through the process of installing a fireproof ceiling in an old building. It's a crucial step to enhance safety, and I'll make it as easy as pie for you to understand.
Why Install a Fireproof Ceiling in an Old Building?
First off, let's talk about why you'd want to install a fireproof ceiling in an old building. Old buildings often have outdated electrical systems, less - than - ideal insulation, and materials that may not meet current fire safety standards. A fireproof ceiling can act as a barrier, slowing down the spread of fire and giving occupants more time to evacuate. It also protects the structural integrity of the building during a fire, reducing the risk of collapse.
Planning the Installation
Before you start nailing things up, you need to do some planning. First, assess the condition of the existing ceiling. Check for any signs of damage, such as water stains, cracks, or sagging. If there are issues, you might need to fix them before installing the fireproof ceiling.
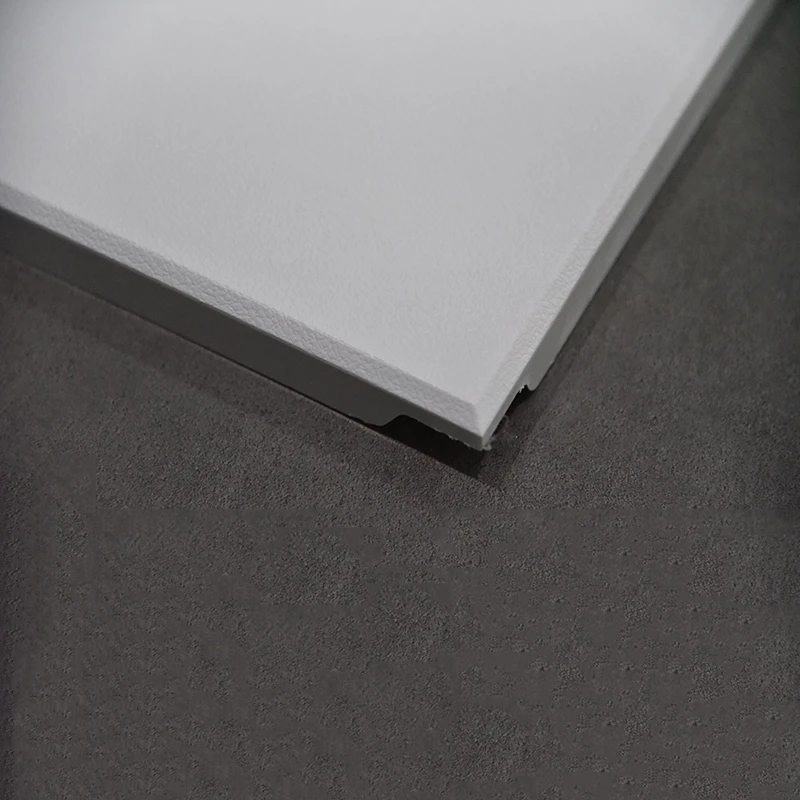

Measure the area where you'll be installing the ceiling. You can use a tape measure to get the length and width of the room. Multiply these two numbers to get the square footage. This will help you determine how much Fireproof Ceiling material you need to purchase.
Next, check the local building codes. Different areas have different requirements for fireproofing, especially in old buildings. You don't want to end up with an installation that doesn't meet the standards. Contact your local building department or a professional contractor to get the necessary information.
Gathering Tools and Materials
Once you've planned everything out, it's time to gather your tools and materials. Here's a list of what you'll need:
- Tools:
- Measuring tape
- Utility knife
- Screwdriver
- Drill
- Saw (if you need to cut the ceiling panels)
- Level
- Ladder
- Materials:
- Fireproof Ceiling panels
- Screws or nails
- Adhesive (optional, depending on the installation method)
- Furring strips (if the existing ceiling isn't level)
Preparing the Existing Ceiling
If the existing ceiling is in good condition, you can usually install the fireproof ceiling directly over it. But if it's uneven or damaged, you'll need to install furring strips. Furring strips are thin pieces of wood or metal that you attach to the existing ceiling to create a level surface.
Start by cleaning the existing ceiling. Remove any dirt, dust, or debris. If there are loose paint or plaster, scrape it off. This will ensure a good bond between the existing ceiling and the furring strips or the fireproof ceiling panels.
Installing Furring Strips
If you need to install furring strips, measure and mark the layout on the existing ceiling. You'll typically want to space the furring strips about 16 inches apart. Use a level to make sure the marks are straight.
Drill holes into the existing ceiling at the marked locations. Insert wall anchors into the holes if you're working with a plaster or drywall ceiling. Then, attach the furring strips to the ceiling using screws or nails. Make sure the furring strips are level as you go.
Installing the Fireproof Ceiling Panels
Now comes the fun part - installing the Fireproof Ceiling panels. Start in one corner of the room. If the panels need to be cut, use a saw or a utility knife to trim them to the right size.
Place the first panel against the furring strips or the existing ceiling. Align it carefully and use a level to make sure it's straight. Secure the panel to the furring strips or ceiling using screws or nails. You can also use adhesive to provide extra support.
Continue installing the panels one by one, working your way across the room. Make sure to leave a small gap between the panels for expansion. This will prevent the panels from buckling or warping over time.
Finishing Touches
Once all the panels are installed, it's time for the finishing touches. Use a putty knife to fill any gaps or holes between the panels with joint compound. Sand the compound smooth once it's dry.
You can also paint the fireproof ceiling to match the rest of the room. Choose a paint that's suitable for the type of ceiling material you've used.
Maintenance and Inspection
After the installation is complete, it's important to maintain and inspect the fireproof ceiling regularly. Check for any signs of damage, such as cracks or loose panels. If you notice any issues, repair them as soon as possible.
Also, make sure to keep the ceiling clean. Dust it regularly to prevent the buildup of dirt and debris, which could affect its fire - resistant properties.
Conclusion
Installing a fireproof ceiling in an old building may seem like a daunting task, but with the right planning, tools, and materials, it's definitely doable. By following these steps, you can enhance the safety of your old building and give yourself peace of mind.
If you're interested in purchasing Fireproof Ceiling materials for your project, we're here to help. We offer high - quality products at competitive prices. Don't hesitate to contact us for more information or to start a procurement discussion. We'll work with you to ensure you get the best solution for your needs.
References
- Building Codes Handbook for Older Buildings
- Fireproofing Materials: A Practical Guide
Send Inquiry